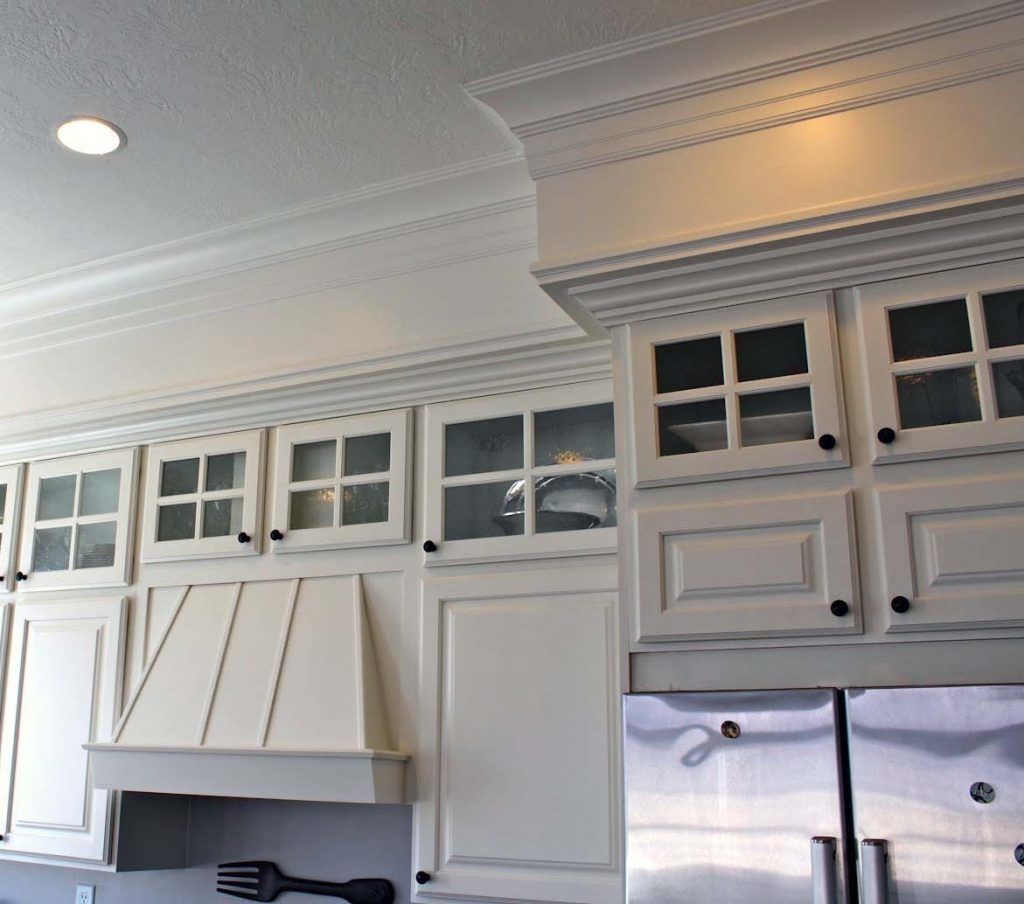
Are you also tired of those basic plain white kitchen cabinets? They look like they’re missing that finishing touch. Enter the world of crown molding! This can be a magic weapon that can add instant elegance and value to your kitchen. But this can be a little fancy for some people. But don’t worry! We will break down all you need to know about installing crown molding on kitchen cabinets. So, are you ready to ditch those boring cabinets?
Step By Step Guide to Install Crown Molding on Kitchen Cabinets
Tools and Materials
● Miter Saw
● Measuring Tape
● Caulk
● Paint and Paintbrush
● Sandpaper
● Pencil
● Hammer and Nails (Optional)
Preparing Your Cabinets
With your tools prepared, it is time to prepare those cabinets for their transformation! Here’s the lowdown:
● Clean Up Crew: Clean the area where you intend to fix your kitchen cabinet using a damp and clean sponge to clean the cabinet’s surface.
● Fill ‘Er Up: Have you ever noticed you have some holes from previous cabinet hardware? Sand them down; then, they can be fixed with wood filler for a fitting surface.
● Sanding Superhero: Make sure that you sand the cabinets to ensure that the paint will stick to the surface of the cabinets.
Cutting Crown Molding
Some people may think this step gets a little confusing, but we’ll explain it all in simple steps! Measurement is one of the crucial steps when it comes to installing crown molding.
● Measure Twice, Cut Once: Find the length of each part of the cabinets where the crown molding is going to be installed.
● Miter Magic: Miter cuts, on the other hand, are cut at an angle, most commonly 45 degrees, to produce jointed corners. Your mitre saw is going to be your go-to tool here.
● Safety First: When using a mitre saw, one should always wear safety glasses and follow the manufacturer’s operational guidelines.
● Practice Makes Perfect. In this case, having dry runs before shaping the real crown molding will help master the mitre cuts from scraps.
Installing the Crown Molding
There are two common ways to attach your crown molding to the cabinets:
● Direct Mounting: This entails adding the crown molding on the cabinet face and using nails/screws to fix it into place.
● Nailing Cleat Support: If your cabinets have overlay doors, try using a nailing cleat (a thin strip of wood attached to the cabinet). It will give the crown more than enough support.
Finishing Touches
Almost there! Before you grab your paintbrush, there are a few finishing touches to ensure a flawless look.
● Caulk Champion: Use a small amount of caulk to fill any nail holes or imperfections in the crown molding. Let it dry completely, then use sandpaper to smooth out any rough spots. This creates a seamless transition between the molding and cabinets.
Painting Your Crown Molding
● Painting Before: This allows for easier access to all areas of the molding, especially intricate details. However, you’ll need to be extra careful not to smudge paint on your cabinets.
● Painting After: Minimizes the risk of getting paint on your cabinets, but reaching tight corners might be trickier.
From Plain to Stunning: Partner with TD Kitchen Remodel Contractors!
Are you feeling overwhelmed by the crown molding installation process? Don’t sweat it! Tennessee Design Kitchen & Bath Remodelers can transform your kitchen with expert crown molding installation. We handle everything from precise cuts to flawless finishing, ensuring a beautiful and professional look. Contact us today for a consultation, and get ready to love your upgraded kitchen! Link to Tennessee Design Kitchen & Bath Remodelers website.


